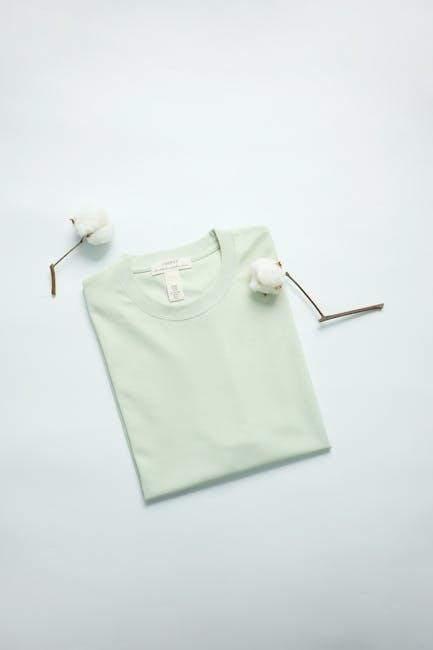
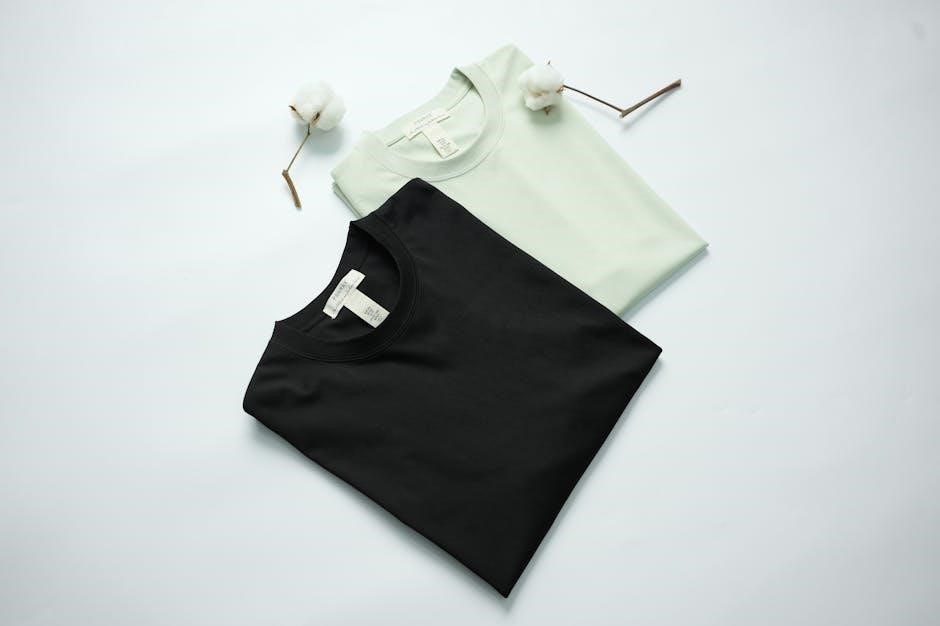
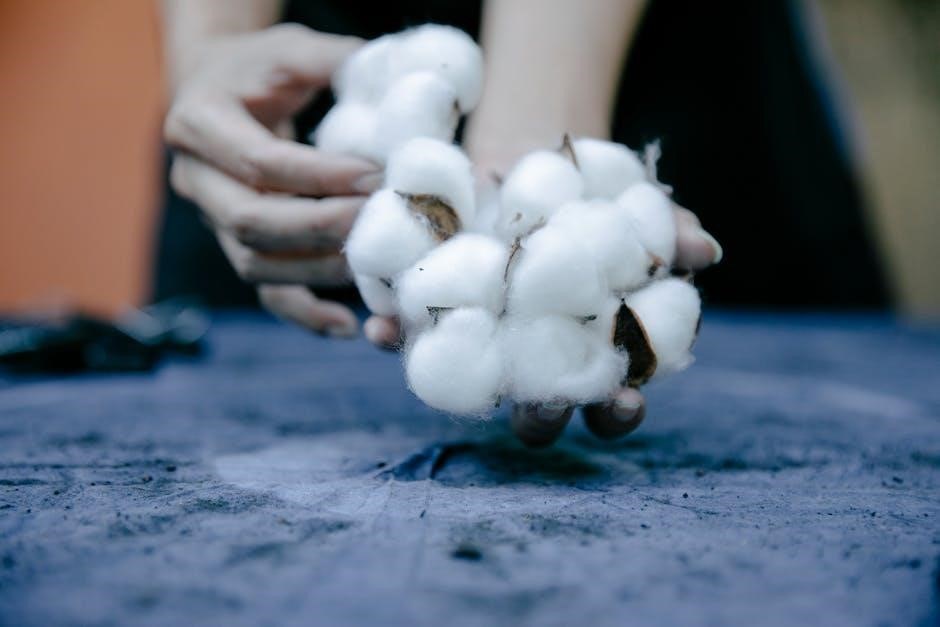
Understanding 100% Cotton Fabric
Professional quality labels indicate 100% cotton garments should be machine washed in cold water and tumble dried on low, removing promptly without bleach.
What is 100% Cotton?
100% cotton refers to fabric made entirely from cotton fibers, offering breathability and comfort. Understanding its composition is key to proper care. Care labels are crucial, communicating the best washing practices for your garments. These labels often detail recommended water temperatures and drying methods.
Many woven garment care labels specify machine washing in cold water and tumble drying on low. This helps prevent shrinkage and maintain fabric integrity. Professional-grade labels are designed to withstand washing and drying cycles without fraying. Always prioritize the instructions on the label, as they are tailored to the specific item. Ignoring these guidelines can lead to damage or a shortened lifespan for your cotton clothing.
Properties of 100% Cotton
100% cotton’s inherent properties influence washing needs. Its absorbency means it can handle frequent washing, but also requires attention to prevent shrinkage. Care labels provide essential guidance, often recommending cold water washing to minimize this risk. While cold water may seem insufficient, modern detergents are effective at cleaning in lower temperatures.
Professional quality labels frequently advise tumble drying on low, further safeguarding against shrinkage. These labels are durable, sewn into garments to withstand repeated laundering. Always check for specific instructions regarding bleach, as it’s generally not recommended for cotton. Following these guidelines ensures your cotton items remain vibrant and retain their shape for longer.
Decoding Care Labels
Care labels communicate the best washing instructions; learning the icons is easy! They indicate water temperature, washing method, and drying guidance for cotton garments.
Importance of Care Labels
Care labels are crucial for maintaining the quality and longevity of your 100% cotton clothing. They provide specific instructions tailored to the fabric and garment construction, preventing damage during cleaning. Ignoring these labels can lead to shrinkage, fading, or distortion of the item.
Understanding the symbols and text on care labels empowers you to make informed decisions about washing, drying, and ironing. For cotton, labels often recommend cold water washing to minimize fading and shrinkage. They also indicate whether machine washing or hand washing is preferred, and specify appropriate drying methods – tumble dry low or air dry.
Following these guidelines ensures your cotton garments retain their shape, color, and overall appearance for years to come, protecting your investment and reducing textile waste.
Common Care Label Symbols for Cotton
Decoding care label symbols is essential for proper cotton garment care. A wash tub symbol indicates washing instructions; a number inside signifies the maximum water temperature – often 30°C or cold for cotton. A hand in the tub means hand wash only.
A square with a circle inside represents drying; dots indicate tumble dryer heat levels (one dot = low). A crossed-out square means do not tumble dry. A triangle signifies bleaching – a plain triangle allows bleaching, while a crossed-out triangle prohibits it.
An iron symbol shows ironing suitability; dots indicate temperature settings (one dot = low). A crossed-out iron means do not iron. Learning these icons simplifies understanding the best care instructions for your cotton clothes.
Washing 100% Cotton
Care labels provide tailored instructions, including recommended water temperature, washing method (machine or hand), and warnings about bleach or ironing.
Recommended Water Temperature
Generally, cold water is recommended for washing 100% cotton garments to minimize shrinkage and fading. However, some sources note that cold water washing below 60 degrees might not effectively remove dirt and oils.
Therefore, consider the garment’s use and soil level. For lightly soiled items, cold water is ideal. For heavier soiling, a lukewarm water temperature may be necessary for optimal cleaning. Always prioritize checking the care label, as it provides specific guidance for that particular item.
Using cold water also helps preserve the fabric’s color and integrity, extending the life of your cotton clothing. Avoiding hot water is crucial, as it significantly increases the risk of shrinkage and color loss.
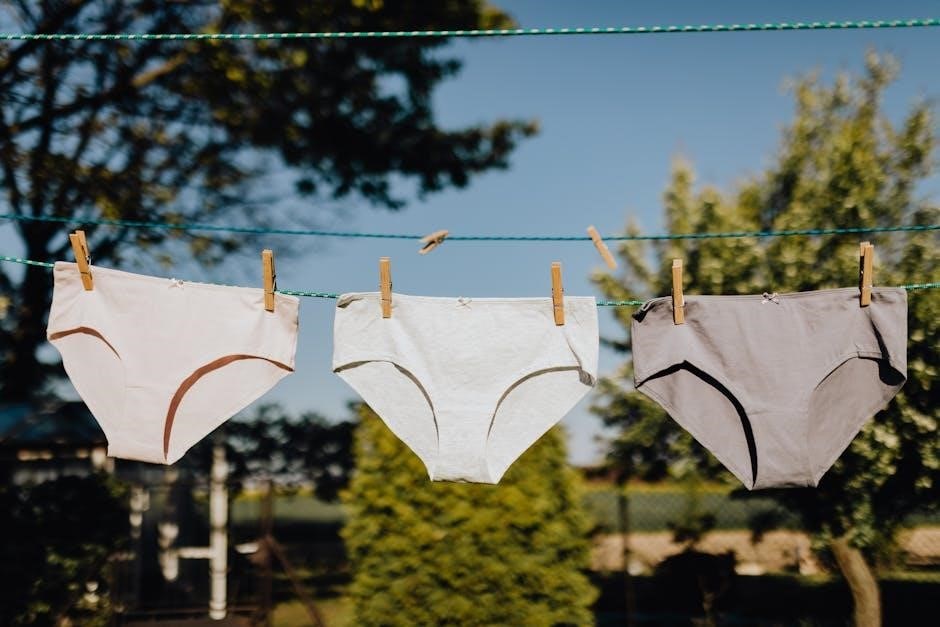
Machine Wash vs. Hand Wash
Machine washing is generally suitable for most 100% cotton garments, offering convenience and efficiency. However, delicate items or those with embellishments may benefit from hand washing. The care label will definitively indicate the recommended method.
When machine washing, use a gentle cycle and cold or lukewarm water. Hand washing involves gently agitating the garment in cool water with a mild detergent, then rinsing thoroughly.
Hand washing is less abrasive, preserving fabric integrity, but requires more time and effort. For everyday cotton items like t-shirts and jeans, machine washing is perfectly acceptable. Always consider the garment’s construction and any specific care instructions before choosing a method.
Using Laundry Detergent
Selecting the right detergent is crucial for maintaining 100% cotton’s quality. Mild, liquid detergents are generally preferred, as they dissolve easily and are less likely to leave residue. Avoid detergents with harsh chemicals or bleach, which can damage fibers and cause fading.
The amount of detergent used matters; excessive detergent can be difficult to rinse out, leading to stiffness. Always follow the detergent manufacturer’s instructions, adjusting the amount based on load size and soil level.
For heavily soiled items, a pre-soak can enhance cleaning. Consider detergents specifically formulated for colors to prevent fading, especially with darker cotton garments.
Types of Detergent Suitable for Cotton
Liquid detergents are generally best for 100% cotton, dissolving completely and minimizing residue. Look for formulas labeled “gentle” or “for delicates,” as these are less harsh on fibers. Enzyme-based detergents effectively break down stains, ideal for everyday dirt and grime.
Avoid detergents with bleach additives, especially for colored cotton, as they can cause fading. Powdered detergents can sometimes leave residue, particularly in cold water, so ensure thorough rinsing. Eco-friendly detergents, free of dyes and fragrances, are a good option for sensitive skin.
Consider detergents specifically designed for dark colors to preserve vibrancy.
Amount of Detergent to Use
Using the correct amount of detergent is crucial; too much can leave residue, causing stiffness and attracting dirt, while too little may result in insufficient cleaning. Always follow the detergent manufacturer’s instructions, adjusting based on load size and soil level.
For a standard washing machine and a typical load, approximately 1-2 tablespoons of liquid detergent is usually sufficient. High-efficiency (HE) machines require significantly less – often just 1-2 teaspoons – to avoid excessive suds.
Consider water hardness; harder water may necessitate slightly more detergent.

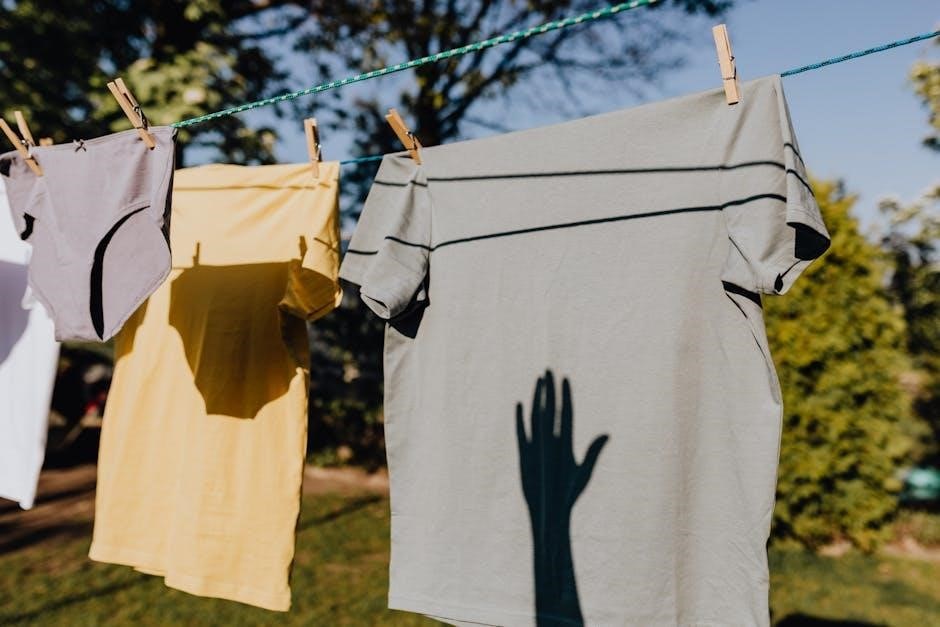
Drying 100% Cotton
Tumble dry low is recommended for 100% cotton, and remove promptly to prevent wrinkles. Air drying is also a gentle option, avoiding excessive shrinkage.
Tumble Drying Guidelines
When tumble drying 100% cotton garments, selecting the low heat setting is crucial to minimize shrinkage. Higher temperatures can cause the cotton fibers to contract, resulting in a smaller, less comfortable fit. It’s also important to remove the items promptly once the drying cycle is complete; leaving them in the dryer for extended periods can lead to wrinkles and potential damage.
Consider using dryer balls to help fluff the fabric and reduce drying time. These can also assist in preventing static cling. Always check the care label for specific instructions, as some cotton items may benefit from air drying instead. Following these guidelines will help maintain the shape, size, and overall quality of your 100% cotton clothing.
Air Drying Methods
Air drying is a gentle and effective method for 100% cotton, minimizing shrinkage and extending the garment’s life. Lay the item flat on a clean, dry surface, like a drying rack or a towel, reshaping it to its original form. Alternatively, hang the cotton clothing on a clothesline or hanger, ensuring adequate airflow around the fabric.
Avoid direct sunlight, as it can cause fading, especially with darker colors. Turn the garment inside out to protect the outer color. While air drying takes longer than machine drying, it’s a more energy-efficient and fabric-friendly option. Ensure the cotton is completely dry before storing to prevent mildew or unpleasant odors.
Avoiding Shrinkage During Drying
100% cotton is prone to shrinkage, so careful drying is crucial. Tumble drying on low heat is recommended, and removing garments promptly prevents prolonged exposure to heat. However, air drying is the safest method to minimize shrinkage. If using a dryer, consider using a cool air setting or a delicate cycle.
Avoid high heat, as it aggressively shrinks cotton fibers. Reshape the garment while damp to help maintain its original size and shape. Over-drying should be avoided at all costs. Remember that even with precautions, some minimal shrinkage may occur, especially with the first wash.

Ironing 100% Cotton
Ironing 100% cotton is often necessary, and garments can typically withstand moderate to high heat settings, sometimes even with steam for best results.
Iron Temperature Settings
Determining the correct iron temperature for 100% cotton is crucial to achieving a crisp, wrinkle-free finish without causing damage. Generally, cotton can tolerate higher heat settings than more delicate fabrics. However, always check the garment’s care label first, as specific finishes or blends may require a lower temperature.
For most 100% cotton items, a medium to high heat setting is appropriate. Start with a medium setting and gradually increase the temperature if wrinkles persist. If your iron has numbered settings, aim for the range indicated for cotton – typically between 300°F and 375°F (149°C and 190°C).
Heavier weight cottons, like denim or canvas, can usually handle the highest heat setting. Lighter weight cottons, such as voile or lawn, may benefit from a slightly lower temperature to prevent scorching. Always test a small, inconspicuous area first to ensure the heat setting is suitable.
Ironing with Steam
Utilizing steam while ironing 100% cotton significantly enhances wrinkle removal and provides a professional finish. Steam helps to relax the cotton fibers, making them more pliable and easier to smooth out. Most irons have a steam setting; ensure the iron is filled with distilled water to prevent mineral buildup and spotting on your garments.
For stubborn wrinkles, employ a generous amount of steam. Some irons offer a “burst of steam” function, which delivers an extra surge of moisture for particularly challenging creases. However, avoid prolonged steam application in one spot, as this could potentially damage the fabric.
Ironing slightly damp cotton—immediately after removing it from the washing machine—can also be beneficial, reducing the need for excessive steam. Always follow the garment’s care label instructions regarding steam ironing.
Dealing with Stains on 100% Cotton
Pre-treatment options are crucial; address stains promptly before washing to maximize removal effectiveness, ensuring a cleaner result for your cotton fabrics.
Pre-Treatment Options
Before machine washing, addressing stains proactively is vital for 100% cotton. Immediate action prevents stains from setting deeply into the fibers. For fresh stains, gently blot – avoid rubbing – with a clean cloth and cold water. Consider using a stain remover specifically designed for cotton fabrics, testing it on an inconspicuous area first to ensure colorfastness.
For oil-based stains, a sprinkle of baking soda can help absorb the oil before washing. For protein-based stains like blood, soaking in cold water is recommended. Avoid hot water, as it can set these types of stains. Always check the garment’s care label for specific instructions, as some treatments may not be suitable for all cotton items. Proper pre-treatment significantly increases the chances of successful stain removal.
Effective Stain Removal Techniques
After pre-treating, effective stain removal on 100% cotton often requires targeted approaches. For lingering stains, create a paste of baking soda and water, applying it to the affected area and letting it sit for 30 minutes before washing. Vinegar is excellent for deodorizing and can help lift certain stains; dilute it with water before application;
Hydrogen peroxide can bleach some stains, but test it carefully on a hidden area first. For stubborn grease, dish soap can be effective. Always wash the garment after stain removal, using cold water to prevent setting any remaining residue. Avoid harsh chemicals like bleach unless the garment’s label specifically allows it, as they can damage the cotton fibers.
Special Considerations
Dark colored cotton benefits from cold water washes to prevent fading, while white cotton can tolerate warmer temperatures for brighter results.
Washing Dark Colored Cotton
Maintaining the vibrancy of dark-colored 100% cotton garments requires a bit of extra care during the washing process. Always opt for cold water washing, as higher temperatures can cause colors to fade and bleed. Using a detergent specifically formulated for dark colors can further help preserve the richness of the dye.
Turn the garment inside out before washing to minimize friction and protect the outer surface. A gentle cycle on your washing machine is recommended, avoiding harsh agitation. When in doubt, hand washing is always a safe option. Remember that even cold water washing might not completely remove stubborn dirt and oil, so consider a pre-treatment for heavily soiled areas.
Washing White Cotton
Keeping white 100% cotton garments looking bright requires a slightly different approach than washing darker colors. While cold water is generally recommended for cotton, warmer water temperatures can be beneficial for whites, aiding in stain removal and brightening. However, avoid excessively hot water, as it can still cause shrinkage.
Using a high-quality laundry detergent with optical brighteners can help enhance the whiteness of your garments. Consider adding a small amount of bleach (if the care label permits) for extra whitening power. Always check the care label first! Separate white cottons from colored items to prevent dye transfer. A gentle cycle is still advisable to protect the fabric’s integrity.
Maintaining Cotton Garments
Prevent fading by washing cotton in cold water and storing clothing properly; avoid direct sunlight to preserve color and fabric quality.
Preventing Fading
To maintain vibrant colors in your 100% cotton garments, consistently washing them in cold water is paramount. Hot water can aggressively strip dye molecules, leading to noticeable fading over time. Utilizing a laundry detergent specifically formulated for colors can further safeguard against dye loss during the washing process.
Furthermore, turning garments inside out before washing minimizes direct friction and exposure to the detergent, preserving the fabric’s surface color. Avoiding prolonged sun exposure during drying is also crucial, as UV rays can act as a bleaching agent.
Consider air drying in a shaded area or using a low heat setting in the dryer. Finally, storing cotton clothing away from direct sunlight will help maintain its original hue for a longer period.
Storage Tips for Cotton Clothing
Proper storage significantly extends the life of your 100% cotton clothing. Always ensure garments are completely dry before storing them, as moisture can lead to mildew and unpleasant odors. Avoid storing cotton in plastic bags, which trap moisture; instead, opt for breathable cotton garment bags or open shelving.
Dark-colored cotton should be stored away from direct sunlight to prevent fading. For long-term storage, consider using acid-free tissue paper between folded items to prevent color transfer and protect delicate fabrics.
Avoid overcrowding your closet, as this can cause wrinkles and distort the shape of your garments. Regularly rotating your wardrobe ensures all items receive adequate air circulation and prevents prolonged compression.